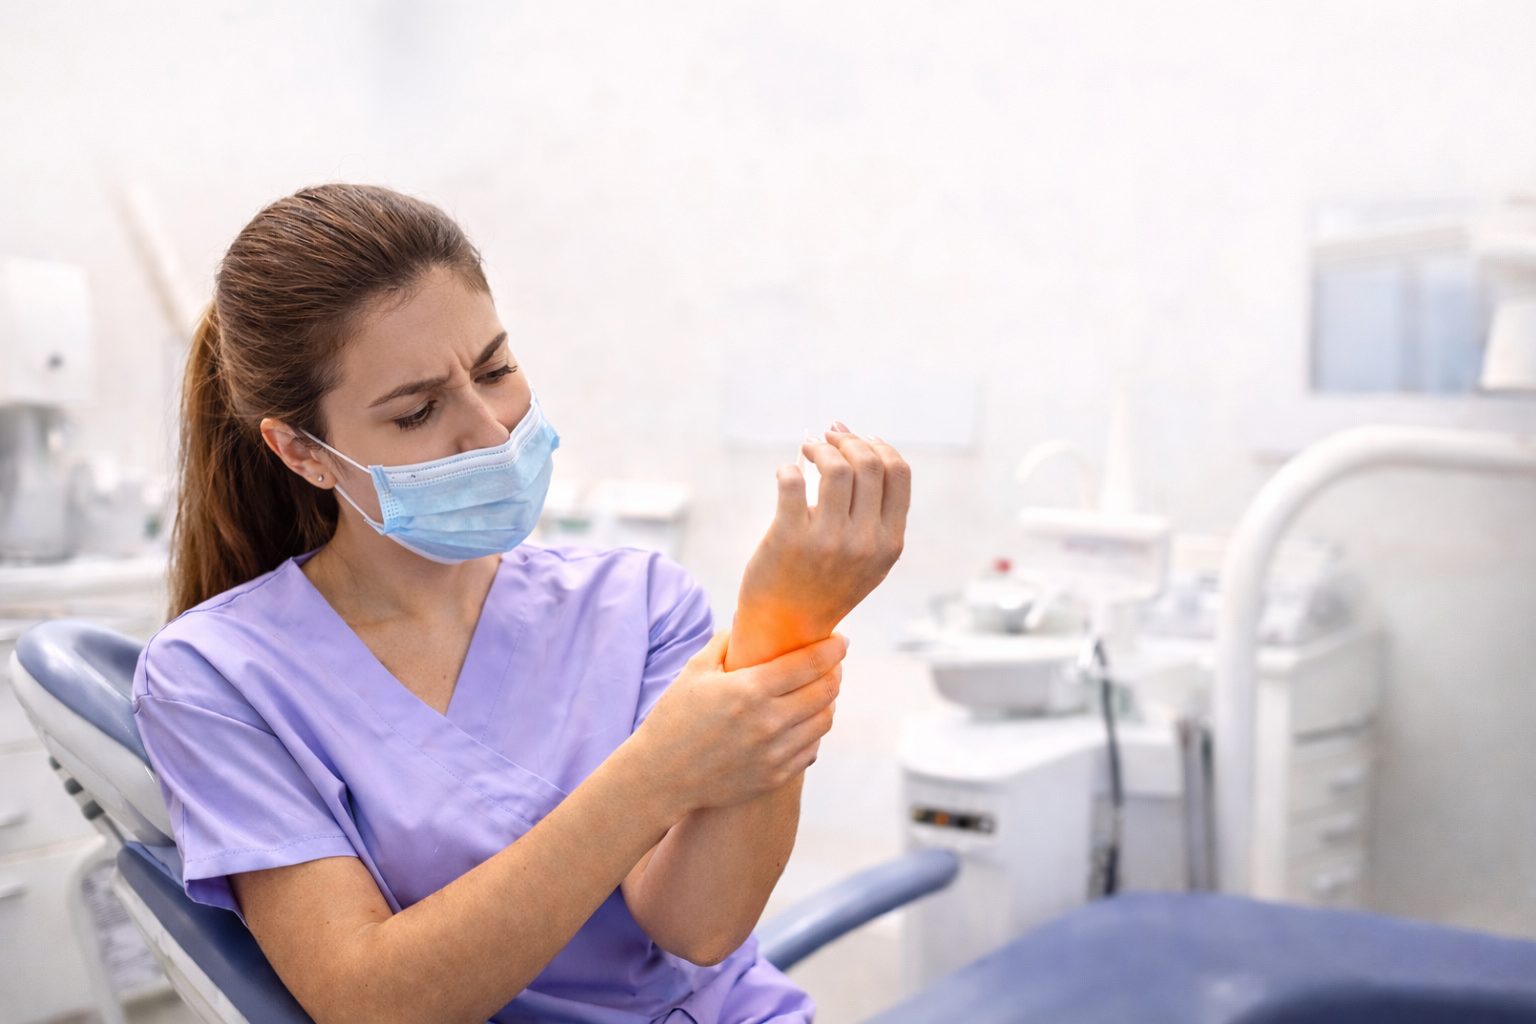

If you’re a dental hygienist with tight traps, aching shoulders, or that “heavy head” feeling after work—this is for you.
After 14 years of practicing, I’ve learned that no amount of “just sitting up straighter” is going to undo what dental hygiene does to your body. That’s where cupping for myofascial release comes in (one of my favorite techniques).
Let’s break down how cupping works, why it’s so effective for hygienists, and how to safely try it at home.
What Is Cupping for Myofascial Release?
Cupping therapy uses suction to lift the skin and fascia (your body’s internal cling wrap). Unlike massage—which uses compression—cupping creates negative pressure, increasing circulation, rehydrating tissue, and encouraging restricted fascia to release.
Cupping has been used for centuries, but more recently, it’s gained traction in the fitness and physical therapy world for its ability to:
- Reduce deep muscle tension
- Improve blood flow
- Support recovery after repetitive strain
It’s not magic—but for hygienists constantly leaning, twisting, and bracing through patient care, it can be extremely beneficial.
(And I’m not knocking massage therapy here—it’s just a different way of manipulating and releasing soft tissue. They work well together. Much like flossing and a Waterpik. 😉)
Why Cupping Works So Well for Dental Hygienists
Here’s the deal: most dental professionals live in a state of chronic compensation. You may not realize it, but your body is constantly adjusting to maintain posture through awkward, static positions.
That creates muscle imbalances—overworked traps, tight pecs, and aching lower backs.
Cupping helps relieve the tension we can’t stretch our way out of.
Benefits of cupping for dental hygienists include:
- Decompressing the upper traps and shoulders
- Promoting blood flow to overworked forearms
- Releasing bound-up fascia, especially around the spine and hips (areas that can feel extra tight for hygienists dealing with arthritis or chronic inflammation)
- Easing that “tight but tender” feeling that stretching alone won’t touch
Where I Use Cupping the Most (After Clinical Days)
After a busy patient schedule, I go straight for these high-tension areas:
- Upper traps and shoulders – for that deep, post-perio-day ache
- Forearms – especially after heavy scaling
- Lower back and hips – to unwind that bracing posture we hold all day
I usually follow up with gentle stretching or mobility work to keep things moving.
What Cupping Feels Like (And What Those Marks Really Mean)
If you’ve ever seen circular red marks from cupping and thought, “That looks intense,” don’t worry—they’re not bruises. They’re simply a sign of increased circulation in the area.
Cupping often feels like a gentle pulling or lifting sensation. Afterward, many people report feeling looser, lighter, and more mobile—especially around the neck, shoulders, and back.
Is Self-Cupping Safe?
Yes—when done correctly. I recommend starting with soft silicone cups designed for at-home use.

Self-Cupping Safety Tips:
- Stick to muscle-rich areas (avoid joints, bones, and the spine)
- Limit static suction to 1–3 minutes per area to start (gradually increasing to 5–10 minutes)
- Never cup over broken skin, inflammation, or varicose veins
- Always clean your cups before and after use
- Start light, go slow, and listen to your body
- If you have any concerns or pre-existing medical conditions (especially cardiovascular), consult with your physician
What About “Pump-Up” Cupping Sets?
Once you’re comfortable with silicone cups, you might want more control over suction. That’s when I recommend pump-up style cups—my personal favorite.

These sets use a handheld pump, so you can adjust the suction precisely. I like them for:
- When I want a deeper, more structured release
- Areas where silicone doesn’t stay put as well (which will vary from person to person)
- Getting consistent pressure across multiple muscle groups
Pump-Up Cupping Tips:
- Start with low suction (1–2 pumps)—you don’t need to go deep to get results
- Check your skin for any signs of irritation
- Avoid bony areas, just like with silicone
Final Thoughts: Add Cupping to Your Recovery Routine
Cupping isn’t a one-and-done fix, but it’s a helpful addition to your self-care routine—especially if you’re dealing with repetitive strain or chronic tension from dental hygiene work.
Since adding cupping to my weekly routine, I’ve noticed:
- Less stiffness in my neck and traps
- Ease when turning my head during patient care
- Fewer “crash” days after clinical work
- Faster recovery between workdays
If you’re tired of living with that deep muscle tightness that stretching won’t touch, cupping for myofascial release might be the missing link.
Ready to Try It?
I’ve created a free guide that walks you through my favorite cupping spots, step-by-step instructions, and safety tips for home use.